
These are instructions on how to make masks to help protect you, your family, your neighbors and friends.
Although thus far the ‘instructions’ have been that there is no need to wear masks, we have not been comfortable with that as a notion. We understand that nobody wants to increase the pressure on our supplies of masks, as clearly those at the forefront of our healthcare should get the type and number of masks they need. However – wearing a mask will help you reduce the chance of spreading this virus to others, and hopefully also reduce your changes of catching it at the same time. The best option is to stay at home, but if you have to go out, that is what we need to flatten that curve.
Remember – it’s better to look funny and be laughed at than to be mourned later because you felt you looked silly and decided not to protect yourself.
Click here to read the relevant article!
https://www.washingtonpost.com/outlook/2020/03/28/masks-all-coronavirus/
Here is a simple way of creating masks for you and your family – Tricia has been making these for the past week to supply our staff, neighbors, and local hospitals. We cannot make any guarantee of their effective ness: no, these masks are not N99, or maybe not even N95 – but the reality is, that if you have a goal, and put 5 goal keepers in it, you have a better chance of reducing the number of pesky balls getting into that goal (ie. your mouth and nose) than if you do nothing. Also – if you DO have an N95 mask, put it over the top of you can get a seal; it’s likely to last a lot longer if you do.
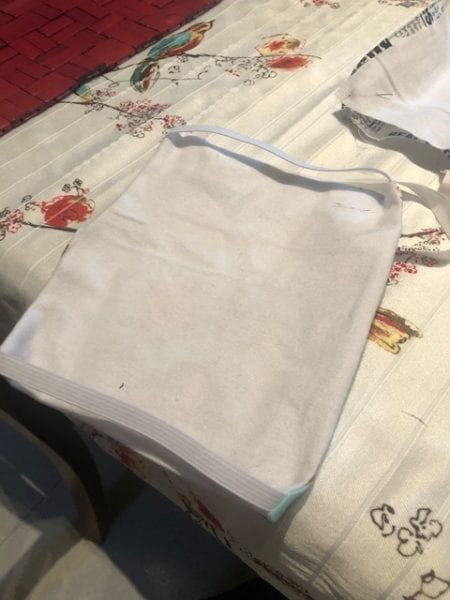
These masks are washable – so we’d suggest that washing them on a daily basis (or every couple of days if you don’t use them a lot) would be wise.
We started buy buying some cotton, flannel, and a material commonly used in dressmaking called Pellon fusible interfacing. We also use some wire to provide a seal against the face – for that, any metal wire that maintains its shape when bent (worst case use spare electrical wire, or a pipe cleaner – anything that keeps its shape is good).
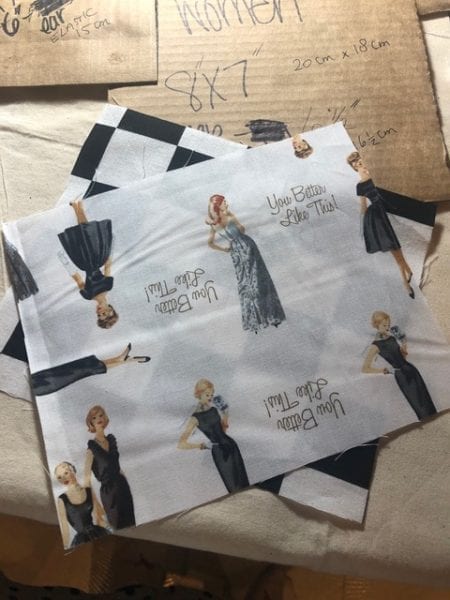
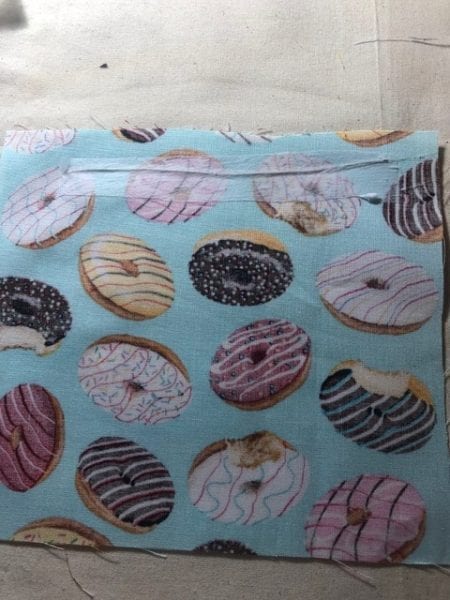
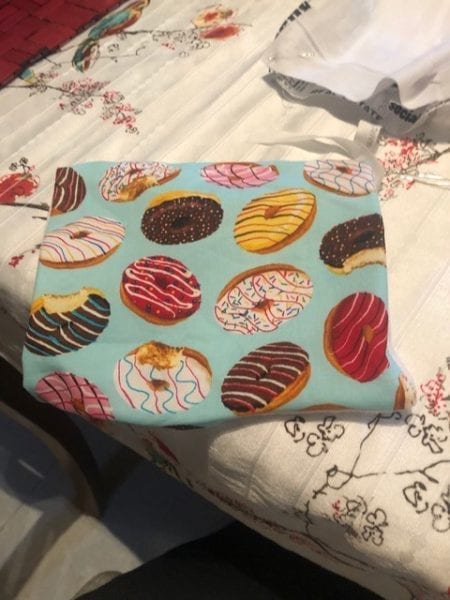
Our supplies (we are in California) come from Joanne’s fabric store, and when we run out we’ve either purchased from them (they do curbside pickup – you drive up, hold up a bin bag, and they’ll throw it in there for maximum safety). We bought 30 or 40 different fabrics for the front just so that you can easily recognize your own mask. If you are at home and have an iron and a sowing machine, even just an old t-shirt will be a great start.
First of all, you want to cut out the pattern – a template. Here is an image of ours. Nothing special, just cardboard cutouts with different sizes for different sized people.
For kids, we start with rectangles measuring 7″x6″, for women 8″x7″ and for men 9″x7″.
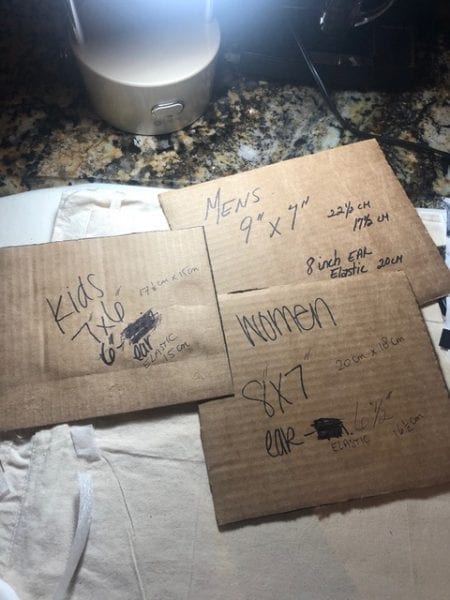
There’s three basic sizes for the masks, and of course plenty of latitude on that – but the above basic templates thus far have worked well.
At that point you cut the material to the size as shown – just cut around the cardboard cut-out. You want a piece of cotton for the front – we’re using different printed materials. That is followed by a piece of Pellon sheerweight fusible interface, and then a piece of flannel.
Cut a piece of wire – don’t make it the full width. We’ve now started putting a loop on the ends so that there’s nothing sharp there. A small loop is all that’s needed, so a very small pair of pliers is ideal. If you don’t have that, it’s OK even with the bare metal. The metal can be just about anything that’ll keep its shape, so a piece of electrical wire is fine. The intent is to put something to create a seal around your nose, so that metal goes at the top.

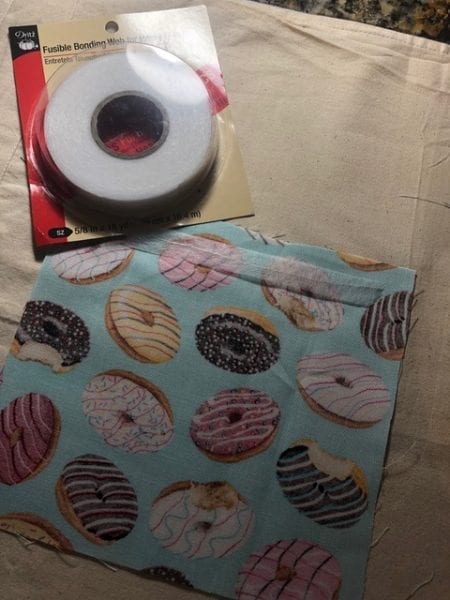
At that point you get some hemming tape, or “fusible Bonding Web” as shown here. Remember that you can’t heat this material on its own, it’s a type of glue, and don’t touch it with the iron directly as it’ll just melt onto the surface and make a mess. The metal wire is set at about 1/2″ to 1″ below the top of the material, ’embedded’ in the hemming tape, and then a layer of fusible sheer weight material goes on top of that to fuse everything together. The interface layer isn’t strong enough to hold onto the metal wire, hence the separate hemming material. MAKE SURE that the ‘glue’ side of the fusible sheer weight material is towards the cotton, NOT towards the iron!
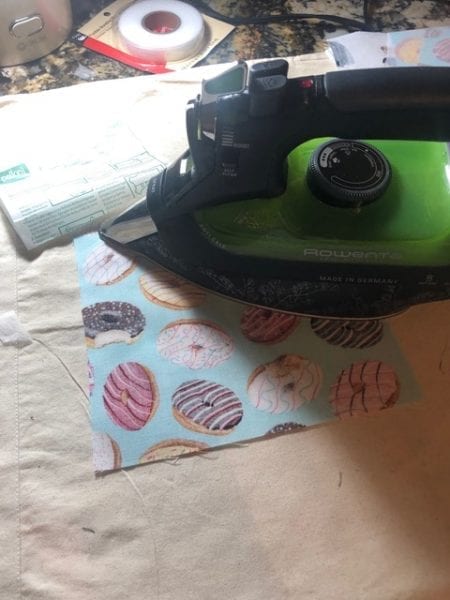
This sandwich is then ironed onto the rear of the front section of the mask, so that you end up with the metal wire, hemming tape on top of that, and the fusible sheerweight on top of that. Again, make sure that the ‘sticky’ part of the material is on the right side.
Just lay the metal on there, with the hemming tape on top, and a small piece of the sheer weight material on top of that. The hemming tape just acts as a glue to help the sheer weight material to stay in place and bond the metal wire to the material.

Here’s the ‘fusing’ part of the process.
Once you’ve done with that, this is what it looks like.
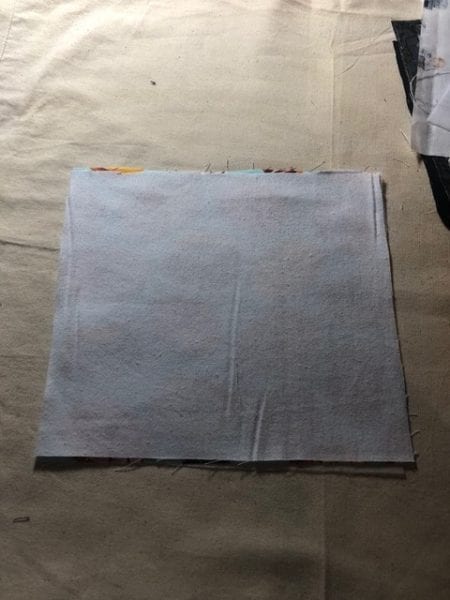
At this point, lay the Pellon interface material on top of the front section, and then add the flannel on top of that.

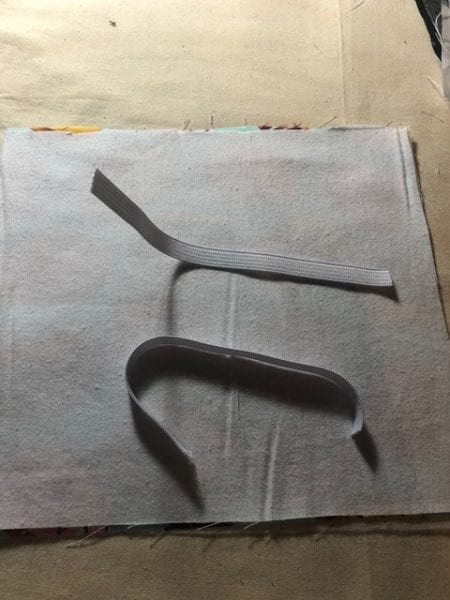
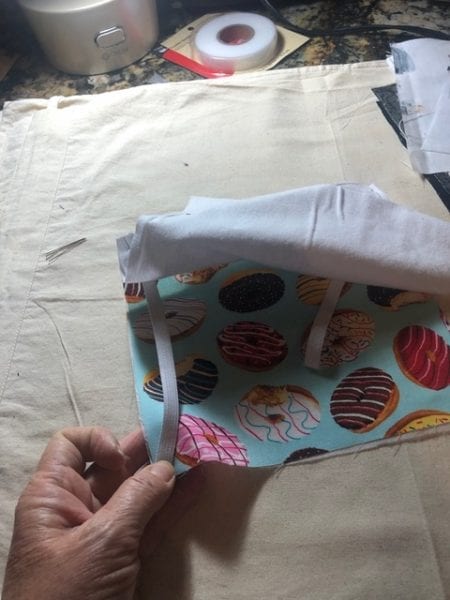
Now you’re going to make a pocket, and it will be inside out. Start with the cotton/fused material, with the fused material on the bottom, and then the flannel on top. Now cut two pieces of elastic to the right length. Note that the elastic we’re showing here is rather thick – we’ve since found that 1/4″ or even 1/8″ knit elastic is a better bet as it’s more comfortable.
You pin the left and right elastic pieces between the cotton bottom assembly and the flannel. They are laid in-between, and pinned.
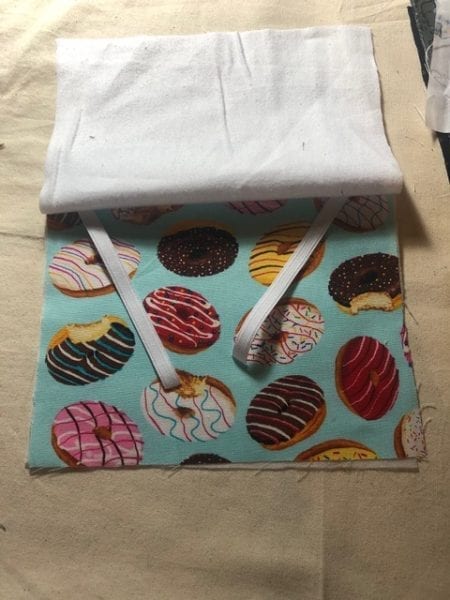
You then repeat that on the bottom, so that the elastic ear pieces run from top to bottom.
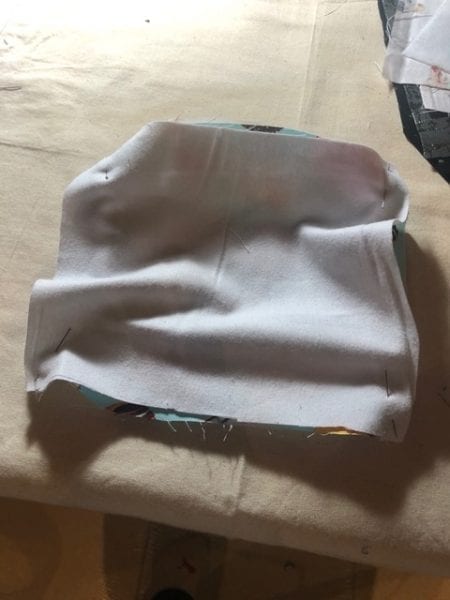
Now you sow the entire perimeter of this rectangular assembly, and you leave a 2″ pocket on the bottom, so that you can turn the currently inside out assembly the other way around.
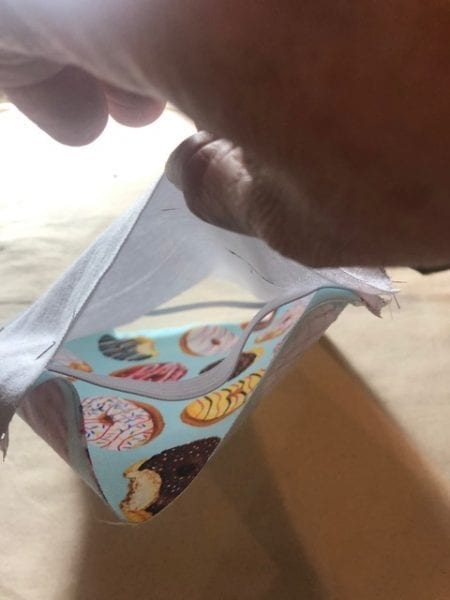
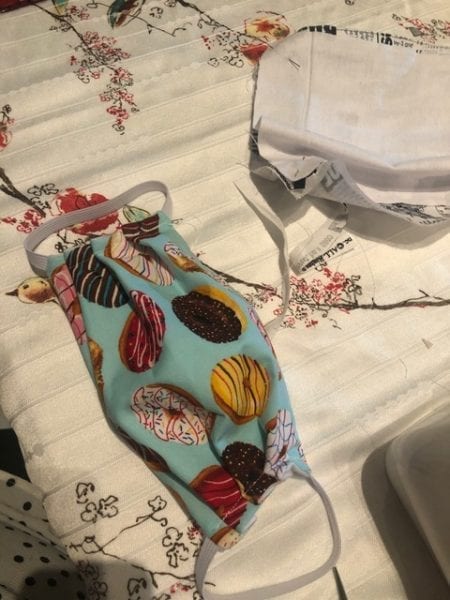
Now turn it inside out, and you have the basic shape together. Keep the pocket open – it will allow you to put a piece of vacuum cleaner or air conditioner HEPA filter in-between to increase the efficiency of the end result (note that this does have to be removed before cleaning/washing the mask!)
Here you can see the metal wire which is the top of the mask.
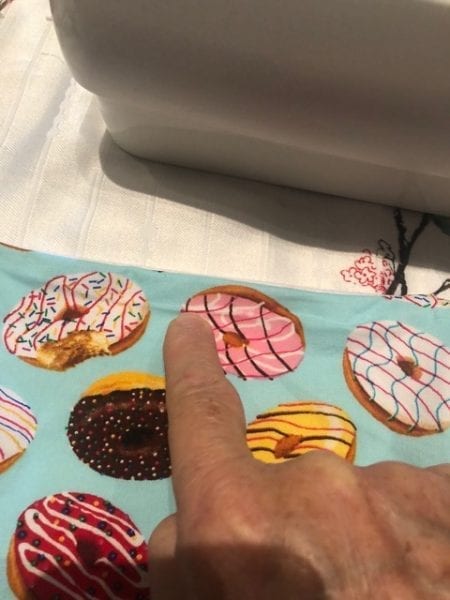
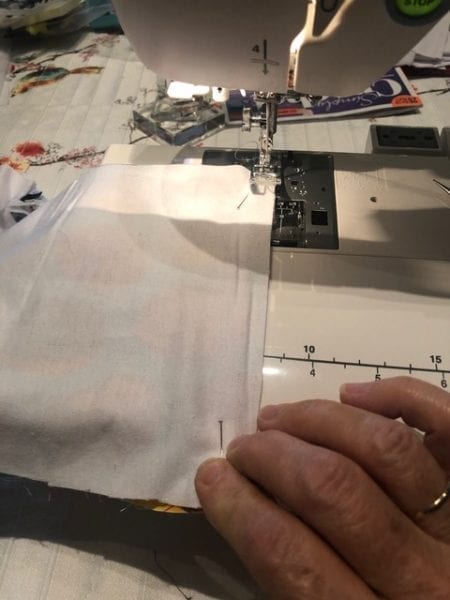
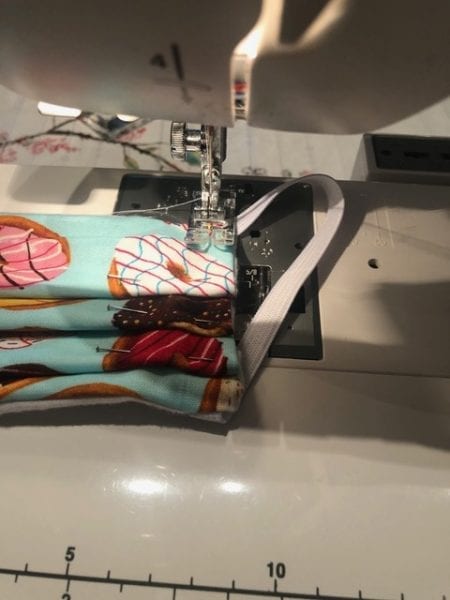
Now it’s time to do the pleats – these are really important to ensure that the mask fits properly around your face and provide for the shape element of the entire effort.
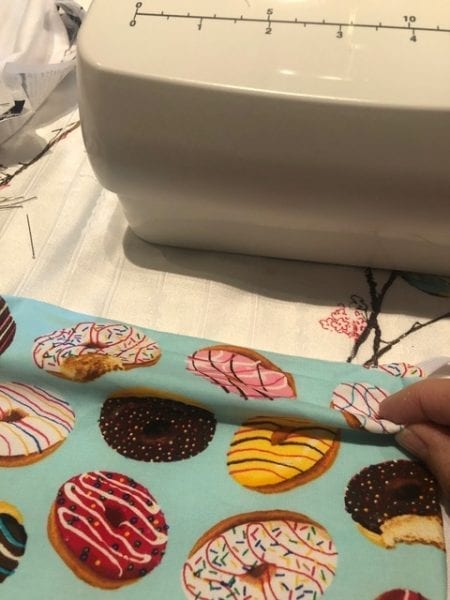
Once you have folded those three creases, it’s time to run the sowing machine from top to bottom on the left and right side.
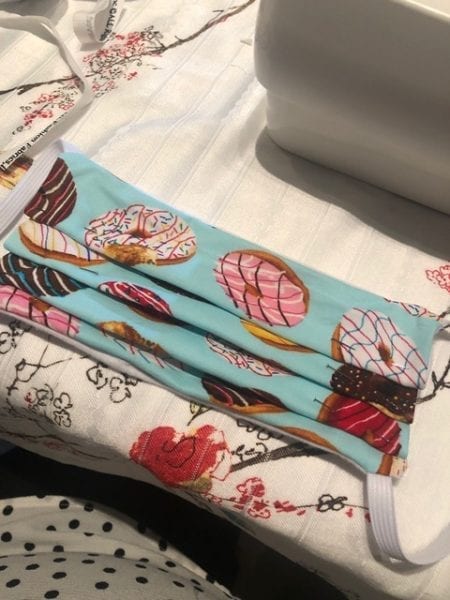
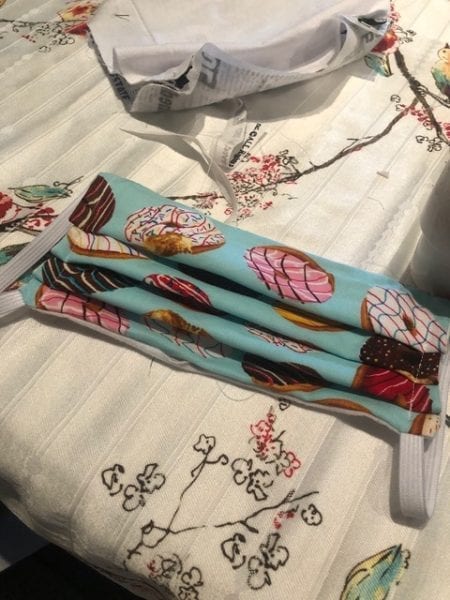
And here’s the result, complete with creases.
and when you ‘expand’ the mask on the table, it’ll look something like this
Resulting in this when you put it onto your face. Note how the bottom chin part folds properly over your chin and seals. The top part of the mask has the metal wire to be shaped around your nose, and the sides seal against your cheek.
The pocket, as mentioned before, can be used to add another layer. If you have nothing else, even a coffee filter will be useful to add a little bit of extra protection.
Now – if you DO have other masks, you can always put them over the top to add protection, and provided you can achieve a good seal, the bottom mask you just made will help keep the paper or discardable mask drier, and it’ll hopefully help to keep it working longer than it would do otherwise.
The result of this is a mask that you can wash, and re-use. Again – it’s probably not N95, but it should help keep you and those around you just that little bit safer.